juniperNSMidp安装步骤图文精Word格式.docx
《juniperNSMidp安装步骤图文精Word格式.docx》由会员分享,可在线阅读,更多相关《juniperNSMidp安装步骤图文精Word格式.docx(29页珍藏版)》请在冰点文库上搜索。
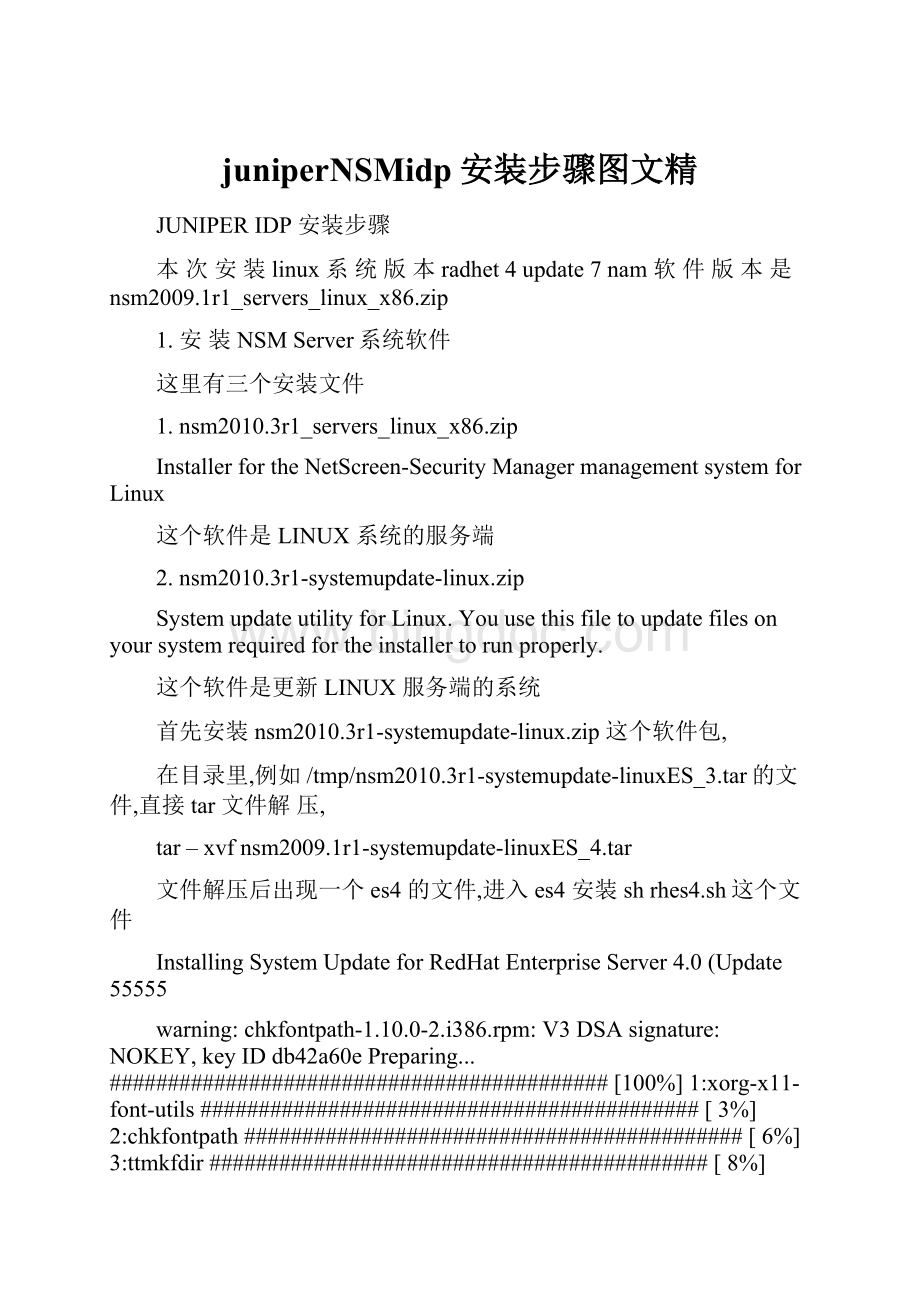
NOKEY,keyIDdb42a60ePreparing...###########################################[100%]1:
xorg-x11-font-utils###########################################[3%]2:
chkfontpath###########################################[6%]3:
ttmkfdir###########################################[8%]4:
xorg-x11-xauth###########################################[11%]5:
cpp###########################################[14%]6:
xorg-x11###########################################[17%]7:
compat-libstdc++-296###########################################[19%]8:
compat-libstdc++-33###########################################[22%]9:
desktop-file-utils###########################################[25%]10:
fontconfig###########################################[28%]11:
fonts-xorg-100dpi###########################################[31%]
12:
fonts-xorg-75dpi###########################################[33%]13:
fonts-xorg-base###########################################[36%]14:
fonts-xorg-truetype###########################################[39%]15:
freetype-devel###########################################[42%]16:
pkgconfig###########################################[44%]17:
postgresql###########################################[47%]18:
postgresql-devel###########################################[50%]19:
postgresql-libs###########################################[53%]20:
postgresql-server###########################################[56%]21:
selinux-policy-targeted###########################################[58%]22:
sharutils###########################################[61%]23:
switchdesk###########################################[64%]24:
xinitrc###########################################[67%]25:
xorg-x11-deprecated-lib###########################################[69%]26:
xorg-x11-deprecated-lib###########################################[72%]27:
xorg-x11-devel###########################################[75%]28:
xorg-x11-libs###########################################[78%]29:
xorg-x11-Mesa-libGL###########################################[81%]30:
xorg-x11-Mesa-libGLU###########################################[83%]31:
xorg-x11-xdm###########################################[86%]32:
xorg-x11-Xdmx###########################################[89%]33:
xorg-x11-xfs###########################################[92%]34:
xorg-x11-Xnest###########################################[94%]35:
xorg-x11-Xvfb###########################################[97%]36:
zlib-devel###########################################[100%]
安装完补丁文件之后,就可以在该操作系统平台之上安装NSM了。
首先将NSM系统软件复制至服务器,推荐复制到/tmp文件夹中,然后直接安装即可。
在linux下执行以下命令:
shnsm2009.1r1_servers_linux_x86.sh
之后,安装向导会依次询问一些简单的设置,然后将自动进行安装。
强烈建议使用默认设置进行安装,以后维护起来会很方便。
典型输出如下:
shnsm2006.1_servers_linux_x86.sh
Creatingstagingdirectory...ok
##########PERFORMINGPRE-INSTALLATIONTASKS##########
Runningpreinstallcheck...
Checkingifplatformisvalid...............................ok
Checkingforcorrectintendedplatform......................ok
Checkingifallneededbinariesarepresent.................ok
Checkingforplatform-specificbinaries.....................ok
CheckingforPostgreSQL.....................................ok
Checkingifuserisroot....................................ok
Checkingifuserrootexists................................ok
CheckingifsystemmeetsRAMrequirement....................ok
Checkingforsufficientdiskspace..........................ok
CheckingifRPMbinaryistheminimumversion..............ok
NotingOSname..............................................ok
Stoppinganyrunningservers
##########GATHERINGINFORMATION##########
1InstallDeviceServeronly
2InstallGUIServeronly
3InstallbothDeviceServerandGUIServer
Enterselection(1-3[]>
3
//同时安装DeviceServer和GUIServer,选择3。
(不大可能有用户把这两个server分别安装在两台服务器上,太浪费了。
而且维护起来也不方便。
##########GENERALSERVERSETUPDETAILS##########
WillthismachineparticipateinanHAcluster?
(y/n[n]>
n
//是否部署在HA模式下,选择NO。
##########DEVICESERVERSETUPDETAILS##########
TheDeviceServerstoresalloftheuserdataunderasingledirectory.
Bydefault,thisdirectoryis/var/netscreen/DevSvr.Becausetheuserdata(includinglogsandpoliciescangrowtobequitelarge,itissometimesdesirabletoplacethisdatainanotherpartition.
Pleaseenteranalternativelocationforthisdataifsodesired,orpressENTERforthelocationspecifiedinthebrackets.
Enterdatadirectorylocation[/var/netscreen/DevSvr]>
//DeviceServer存放user数据的目录,直接回车使用默认目录。
##########GUISERVERSETUPDETAILS##########
TheGUIServerstoresalloftheuserdataunderasingledirectory.
Bydefault,thisdirectoryis/var/netscreen/GuiSvr.Becausetheuserdata(includingdatabasedataandpoliciescangrowtobequitelarge,itissometimesdesirabletoplacethisdatainanotherpartition.
Enterdatadirectorylocation[/var/netscreen/GuiSvr]>
//GUIServer存放所有user数据的目录,直接回车使用默认目录即可。
TheGUIServerstoresallofthedatabaselogsunderasingledirectory.
Bydefault,thisdirectoryis/var/netscreen/GuiSvr/xdb/log.Becausethedatabaselogcangrowtobequitelarge,itissometimesdesirabletoplacethisloginanotherpartition.
Pleaseenteranalternativelocationforthislogifsodesired,orpressENTERforthelocationspecifiedinthe
brackets.
Enterdatabaselogdirectorylocation[/var/netscreen/GuiSvr/xdb/log]>
//GUIServer存放log数据的目录,直接回车使用默认目录即可。
EnterthemanagementIPaddressofthisserver[]>
//给NSM分配IP地址。
NSM客户端需要NSMServer的IP地址才能访问NSM。
SettingGUIServeraddressandporttox.x.x.x:
7801forDeviceServer
Pleaseenterapasswordforthe'
super'
user
Enterpassword(passwordwillnotdisplayasyoutype>
//给super用户设置密码,输入密码时输出不可见。
这是在NSM客户端上访问NSM时需要输入的密码。
Pleaseenteragainforverification
//再次确认密码。
WillaStatisticalReportServerbeusedwiththisGUIServer?
##########HIGHAVAILABILITY(HASETUPDETAILS##########
Willserverprocessesneedtoberestartedautomaticallyincaseofafailure?
(y/n[y]>
//服务器进程一旦失效是否重启,选择yes。
##########BACKUPSETUPDETAILS##########
Willthismachinerequirelocaldatabasebackups?
Enterhourofdaytostartthedatabasebackup(00=midnight,02=2am,14=
2pm...[02]>
Willdailybackupsneedtobesenttoaremotemachine?
Enternumberofdatabasebackupstokeep[7]>
Enterthersyncbackuptimeout[1800]>
Willloggingbeenabled?
Enterdatabasebackupdirectory[/var/netscreen/dbbackup]>
Thedatabasebackupserver(srequiresthatyouhavepreviouslyinstalledthersyncprogram.
Enterthefullpathtorsync[/usr/bin/rsync]>
//设置本地数据备份(备份至远程其他设备,可不选。
##########DEVSVRDBSETUPDETAILS##########
EnterPostgresDevSvrDbport[5432]>
EnterPostgresDevSvrDbsuperuser[netscreen]>
EnterPostgresDevSvrDbpasswordforuser'
netscreen'
##########POST-INSTALLATIONOPTIONS##########
Startserver(swhenfinished?
(y/n[]>
y
//安装完成后是否开始服务,选择是。
##########CONFIRMATION##########
Abouttoproceedwiththefollowingactions:
-InstallDeviceServer
-InstallGUIServer
-InstallHighAvailabilityServer
-ThismachinedoesnotparticipateinanHAcluster
-StoreDeviceServerdatain/var/netscreen/DevSvr
-StoreGUIServerdatain/var/netscreen/GuiSvr
-StoreGUIServerdatabaselogin/var/netscreen/GuiSvr/xdb/log-UseIPaddress10.100.37.219formanagement
-ConnecttoGUIServerat10.100.37.219:
7801
-Setpasswordfor'
-Serverswillberestartedautomaticallyincaseofafailure
-Localdatabasebackupsareenabled
-Startbackupsat02
-Dailybackupswillnotbesenttoaremotemachine
-Numberofdatabasebackupstokeep:
7
-HArsynccommandbackuptimeout:
1800
-Loggingisdisabled:
-Createdatabasebackupin/var/netscreen/dbbackup
-Usersyncprogramat/usr/bin/rsync
-PostgresDevSvrDbServerport:
5432
-PostgresDevSvrDbsuperuser:
netscreen
-PostgresDevSvrDbpasswordsetfor'
-Startserver(swhenfinished:
Yes
Aretheaboveactionscorrect?
(y/n>
//确认已完成的设定。
确认选择yes,重新修改选择no。
##########EXTRACTINGPAYLOADS##########
Extractingpayload..........................................ok
Decompressingpayload.......................................ok
##########PERFORMINGINSTALLATIONTASKS##########-----INSTALLINGDeviceServer-----
LookingforexistingRPMpackage............................ok
RemovingDevSvrfilesfromdefaultlocation.................ok
InstallingDeviceServerRPM................................ok
InstallingJRE..............................................ok
Creatingvardirectory......................................ok
Creating/var/netscreen/dbbackup.......
 升级会员
升级会员 