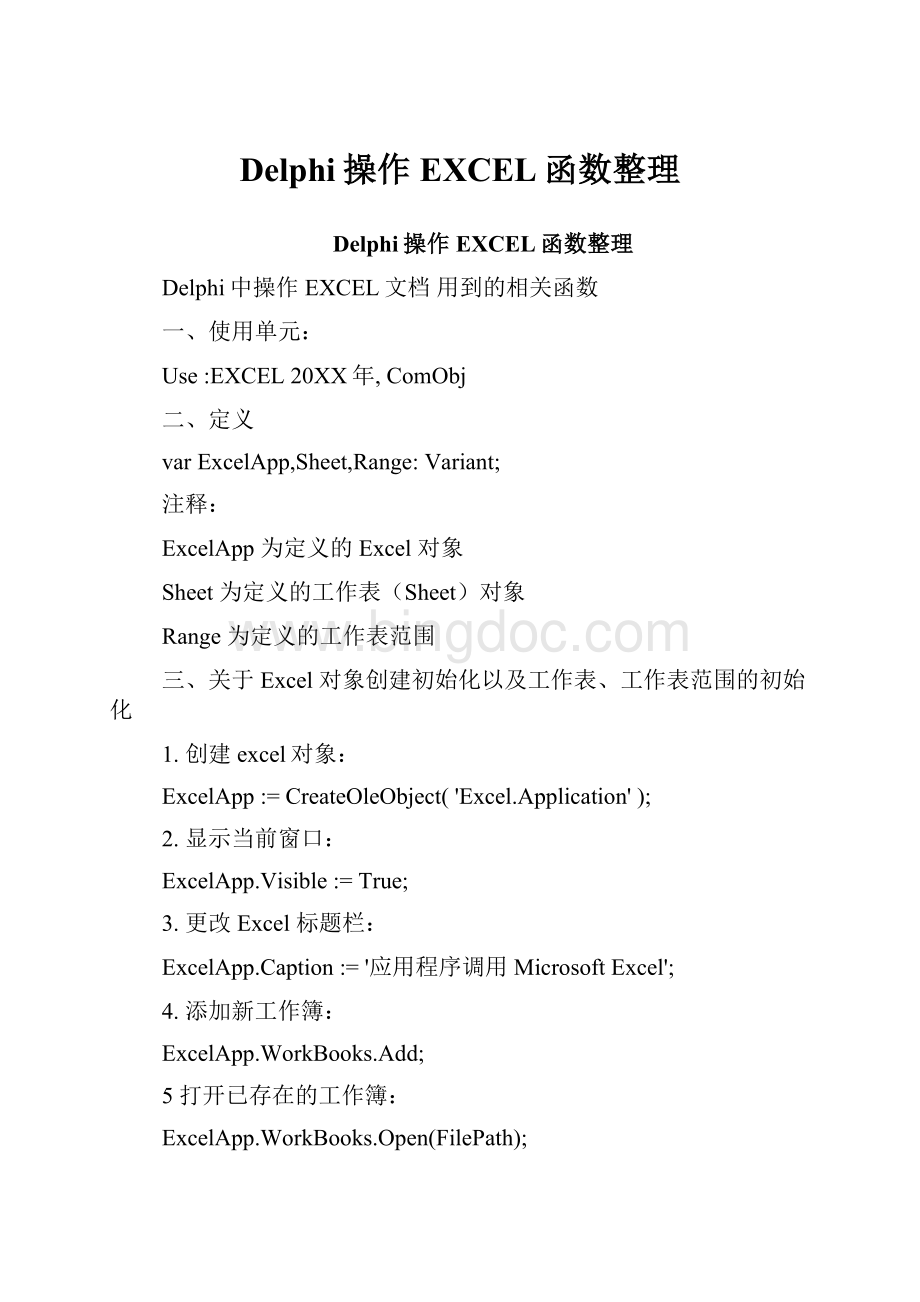
Delphi操作EXCEL函数整理.docx
《Delphi操作EXCEL函数整理.docx》由会员分享,可在线阅读,更多相关《Delphi操作EXCEL函数整理.docx(11页珍藏版)》请在冰点文库上搜索。

Delphi操作EXCEL函数整理
Delphi操作EXCEL函数整理
Delphi中操作EXCEL文档用到的相关函数
一、使用单元:
Use:
EXCEL20XX年,ComObj
二、定义
varExcelApp,Sheet,Range:
Variant;
注释:
ExcelApp为定义的Excel对象
Sheet为定义的工作表(Sheet)对象
Range为定义的工作表范围
三、关于Excel对象创建初始化以及工作表、工作表范围的初始化
1.创建excel对象:
ExcelApp:
=CreateOleObject('Excel.Application');
2.显示当前窗口:
ExcelApp.Visible:
=True;
3.更改Excel标题栏:
ExcelApp.Caption:
='应用程序调用MicrosoftExcel';
4.添加新工作簿:
ExcelApp.WorkBooks.Add;
5打开已存在的工作簿:
ExcelApp.WorkBooks.Open(FilePath);
6.设置工作簿默认工作表张数
ExcelApp.SheetsInNewWorkbook:
=1;
7.设置工作表名称
ExcelApp.Workbooks[WorkbookNum].WorkSheets[WorkSheetNum].Name:
=PName;
8.工作表初始化
Sheet:
=ExcelApp.Workbooks[WorkbookNum].WorkSheets[WorkSheetNum];
9.工作表范围初始化
Range:
=Sheet.Range['A1:
DL1'];
10.设置第2个工作表为活动工作表:
ExcelApp.WorkSheets.Activate;
或
ExcelApp.WorksSheets['Sheet2'].Activate;
三、单元格赋值设置数值类型
1.给单元格赋值:
ExcelApp.Cells[row,column].Value:
='第一行第四列';
或
Sheet.Cells[row,column]:
=‘第一行第四列’;
2清除第一行第四列单元格公式:
ExcelApp.ActiveSheet.Cells[row,column].ClearContents;
Delphi中操作EXCEL文档用到的相关函数
或
Sheet.Cells[row,column].ClearContents
3设置单元格数值类型为文字型
Range.NumberFormatLocal:
='@';
四、设置列宽和行高
1.设置指定列的宽度(单位:
字符个数):
ExcelApp.ActiveSheet.Columns[column].ColumnsWidth:
=5;
或
Sheet.Columns[column].ColumnWidth:
=5;
2.设置指定行的高度(单位:
磅)(1磅=0.035厘米)
ExcelApp.ActiveSheet.Rows[row].RowHeight:
=1/0.035;//1厘米
或
Sheet.Rows[row].RowHeight:
=1/0.035;
五、对齐方式
1.水平对齐
Range.HorizontalAlignment:
=xlCenter;居中
Range.HorizontalAlignment:
=xlLeft;居左
Range.HorizontalAlignment:
=xlRight;居右
或
Sheet.Cells[row,column].HorizontalAlignment:
=xlCenter;居中
Sheet.Cells[row,column].HorizontalAlignment:
=xlLeft;居左
Sheet.Cells[row,column].HorizontalAlignment:
=xlRight;居右
2.垂直对齐
Range.VerticalAlignment:
=xlCenter;居中
Range.VerticalAlignment:
=xltop;顶端对齐
Range.VerticalAlignment:
=xlbottomfont;底部对齐
或
Sheet.Cells[row,column].VerticalAlignment:
=xlCenter;居中
Sheet.Cells[row,column].VerticalAlignment:
=xltop;顶端对齐
Sheet.Cells[row,column].VerticalAlignment:
=xlbottomfont;底部对齐
六、文字控制
1.自动换行
Range.WrapText:
=true;
或
Sheet.Cells[row,column].WrapText:
=true;
2.合并单元格
Sheet.range['A17:
G17'].Merge;
3.跨越合并
Delphi中操作EXCEL文档用到的相关函数
Sheet.range['C27:
D34'].Merge(true);
七、字型设置
1.设置字体大小
Range.Characters.Font.Size:
=10;
或
2.字体加重
Range.Characters.Font.Bold:
=true;
或
Sheet.Cells[row,column].Characters.Font.Bold:
=true;
3.字体倾斜
Range.Characters.Font.Italic:
=true;
或
Sheet.Cells[row,column].Characters.Font.Italic:
=true;
4.字体
.cn:
=’楷体'
或
Sheet.Cells[row,column].Characters.Font.Name:
=’楷体’
5字体样式(常规,斜体,粗体,粗斜体)
Range.Characters.Font.FontStyle:
=’常规'
或
Sheet.Cells[row,column].Characters.Font.FontStyle:
=’常规'
6.下划线
Range.Characters.Font.UnderLine:
=True;
或
Sheet.Cells[row,column].Characters.Font.UnderLine:
=True;
八、分页符操作
1.在第8行之前插入分页符:
ExcelApp.WorkSheets.Rows.PageBreak:
=1;
或
Sheet.Rows.PageBreak:
=1;
或
Range.Rows.PageBreak:
=1;
2.在第8列之前删除分页符:
ExcelApp.ActiveSheet.Columns.PageBreak:
=0;
或
Sheet.Columns.PageBreak:
=0;
或
Range.Columns.PageBreak:
=0;Sheet.Cells[row,column].Characters.Font.Size:
=10;
Delphi中操作EXCEL文档用到的相关函数
九、关于边框的操作:
Border:
1-左2-右3-顶4-底5-斜(\)6-斜(/)
1.指定边框线宽度:
ExcelApp.ActiveSheet.Range['B3:
D4'].Borders[Border].Weight:
=3;
或
Sheet.Borders[Border].Weight:
=3;
或
RangeBorders[Border].Weight:
=3;
2.边框线线条形状
Sheet.Borders[Border].linestyle:
=1;
或
Range.Borders[Border].Linestyle:
=1;
Linestyle1:
实线2虚线12双横线
十、关于颜色
1.设置单元格背景色
Sheet.Cells[row,column].Interior.ColorIndex:
=38;
或
Range.Interior.ColorIndex:
=38;
2.字体颜色
Range.Characters.Font.Colorindex:
=6;
或
Sheet.Cells[row,column].Characters.Font.Colorindex:
=6
Colorindex的值
十一、冻结窗口
Sheet.Cells[2,3].select;
ExcelApp.ActiveWindow.FreezePanes:
=True;
十二、打印设置
1.页眉:
Sheet.PageSetup.CenterHeader:
='报表演示';
2.页脚:
Delphi中操作EXCEL文档用到的相关函数
Sheet.PageSetup.CenterFooter:
='第P页';
3页眉到顶端边距2cm:
Sheet.PageSetup.HeaderMargin:
=2/0.035;
4.页脚到底端边距3cm:
Sheet.PageSetup.HeaderMargin:
=3/0.035;
5.顶边距2cm:
Sheet.PageSetup.TopMargin:
=2/0.035;
6.底边距2cm:
Sheet.PageSetup.BottomMargin:
=2/0.035;
7.左边距2cm:
Sheet.PageSetup.LeftMargin:
=2/0.035;
8.右边距2cm:
Sheet.PageSetup.RightMargin:
=2/0.035;
9.页面水平居中:
Sheet.PageSetup.CenterHorizontally:
=2/0.035;
10.页面垂直居中:
Sheet.PageSetup.CenterVertically:
=2/0.035;
11.打印单元格网线:
Sheet.PageSetup.PrintGridLines:
=True;
12缩放比例
Sheet.PageSetup.zoom:
=75;
13横向打印
Sheet.PageSetup.Orientation:
=xllandscape;
14纵向打印
15.设置打印标题行
Sheet.PageSetup.PrintTitleRows:
=Sheet.Rows['1:
3'].Address;
Sheet.PageSetup.PrintTitleColumns:
=Sheet.Rows.Address;
16.打印预览工作表:
Sheet.PrintPreview;
17打印输出工作表:
Sheet.PrintOut;
十三、拷贝操作:
1.拷贝整个工作表:
.cned.Range.Copy;
2.b.拷贝指定区域:
Sheet.Range['A1:
E2'].Copy;
3.从A1位置开始粘贴:
Delphi中操作EXCEL文档用到的相关函数
Sheet.Range.['A1'].PasteSpecial;
4.从文件尾部开始粘贴:
Sheet.Range.PasteSpecial;
十四、行列的插入删除
1.插入一行或一列:
a.ExcelApp.ActiveSheet.Rows.Insert;
b.ExcelApp.ActiveSheet.Columns.Insert;
2.删除一行或一列:
a.ExcelApp.ActiveSheet.Rows.Delete;
b.ExcelApp.ActiveSheet.Columns.Delete;
十五、Excel保存关闭
1.工作表保存:
ifnotExcelApp.ActiveWorkBook.Savedthen
ExcelApp.ActiveSheet.PrintPreview;
2.工作表另存为:
ExcelApp.SaveAs(filepath);
3放弃存盘:
ExcelApp.ActiveWorkBook.Saved:
=True;
4.关闭工作簿:
ExcelApp.WorkBooks.Close;
5.退出Excel:
ExcelApp.Quit;
6.工作表关闭
ExcelApp.WorkBooks.Close;
十六、其他
1.已经使用的行数
.cnedRange.Rows.Count;
(三)使用Delphi控制Excel二维图
在Form中分别放入ExcelApplication,ExcelWorkbook和ExcelWorksheetVarasheet1,achart,range:
variant;
1)选择当第一个工作簿第一个工作表
asheet1:
=ExcelApplication1.Workbooks.Worksheets;
2)增加一个二维图
achart:
=asheet1.chartobjects.add(100,100,200,200);
3)选择二维图的形态
Delphi中操作EXCEL文档用到的相关函数
achart.chart.chartype:
=4;
4)给二维图赋值
series:
=achart.chart.seriescollection;
range:
=sheet1!
r2c3:
r3c9;
series.add(range,true);
5)加上二维图的标题
achart.Chart.HasTitle:
=True;
achart.Chart.ChartTitle.Characters.Text:
=’Excel二维图’
6)改变二维图的标题字体大小
achart.Chart.ChartTitle.Font.size:
=6;
7)给二维图加下标说明
achart.Chart.Axes(xlCategory,xlPrimary).HasTitle:
=True;
achart.Chart.Axes(xlCategory,xlPrimary).AxisTitle.Characters.Text:
=’下标说明’;
8)给二维图加左标说明
achart.Chart.Axes(xlValue,xlPrimary).HasTitle:
=True;
achart.Chart.Axes(xlValue,xlPrimary).AxisTitle.Characters.Text:
=’左标说明’;
9)给二维图加右标说明
achart.Chart.Axes(xlValue,xlSecondary).HasTitle:
=True;
achart.Chart.Axes(xlValue,xlSecondary).AxisTitle.Characters.Text:
=’右标说明’;
10)改变二维图的显示区大小
achart.Chart.PlotArea.Left:
=5;
achart.Chart.PlotArea.Width:
=223;
achart.Chart.PlotArea.Height:
=108;
11)给二维图坐标轴加上说明
achart.chart.seriescollection.NAME:
=’坐标轴说明’;